Add New Banner
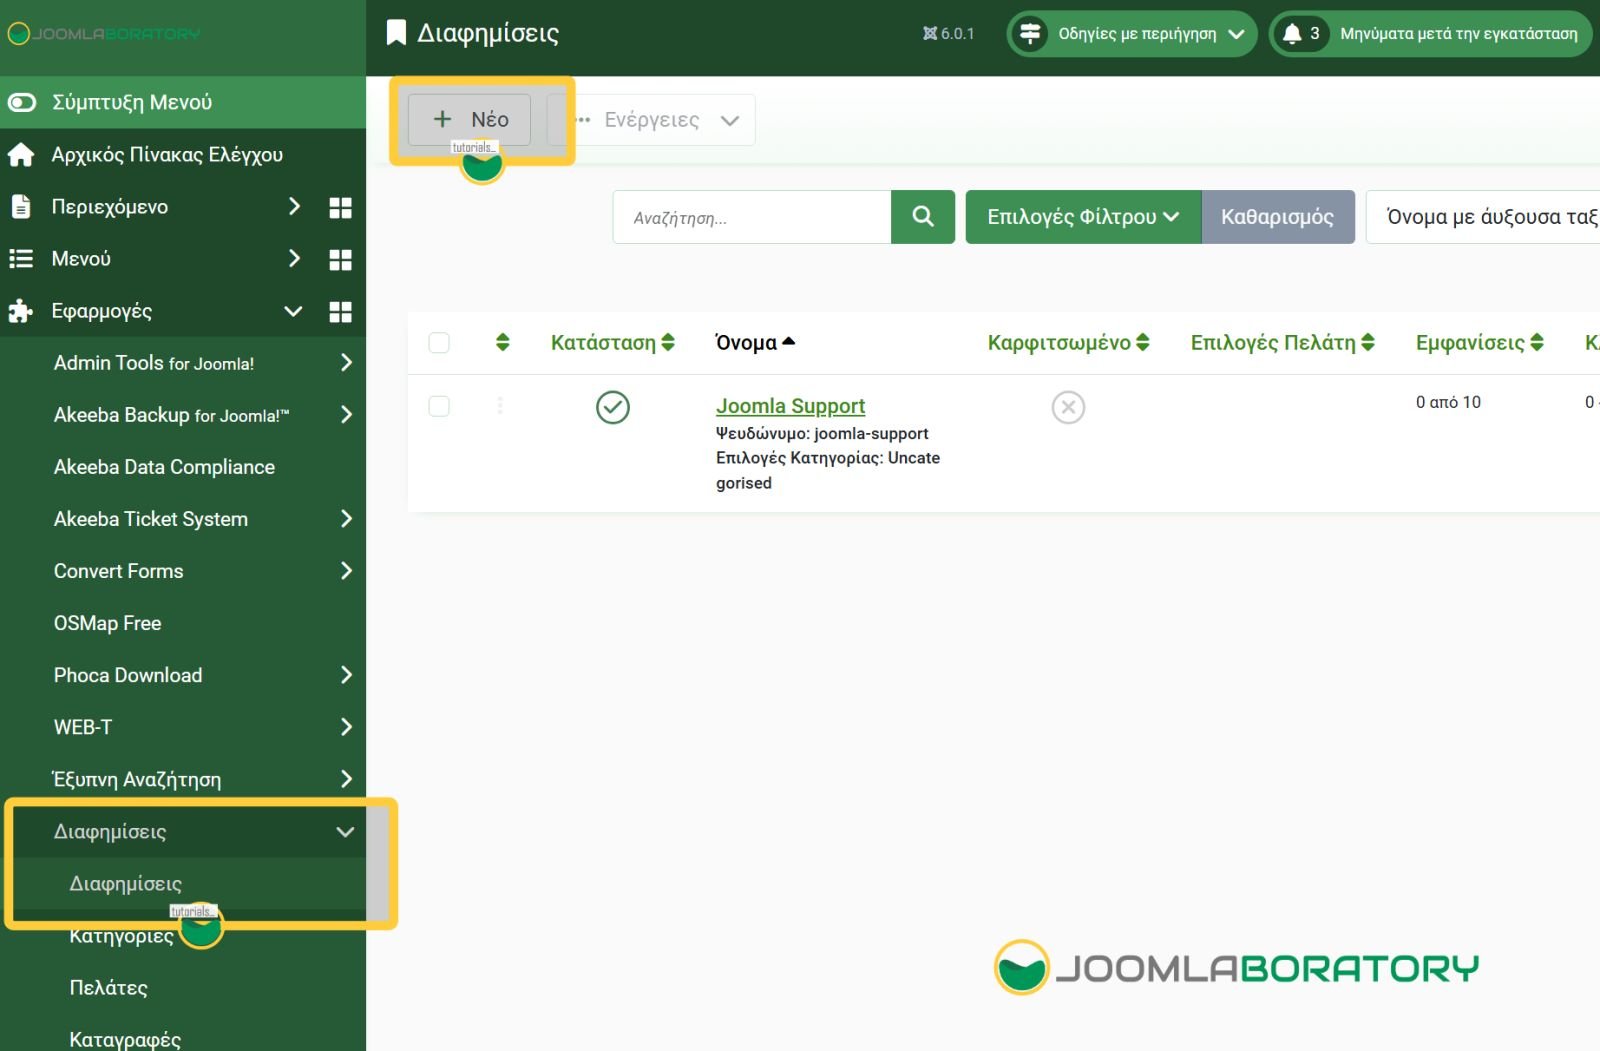
From Components - Banners - Banners you click on New button to open the new banner form view.
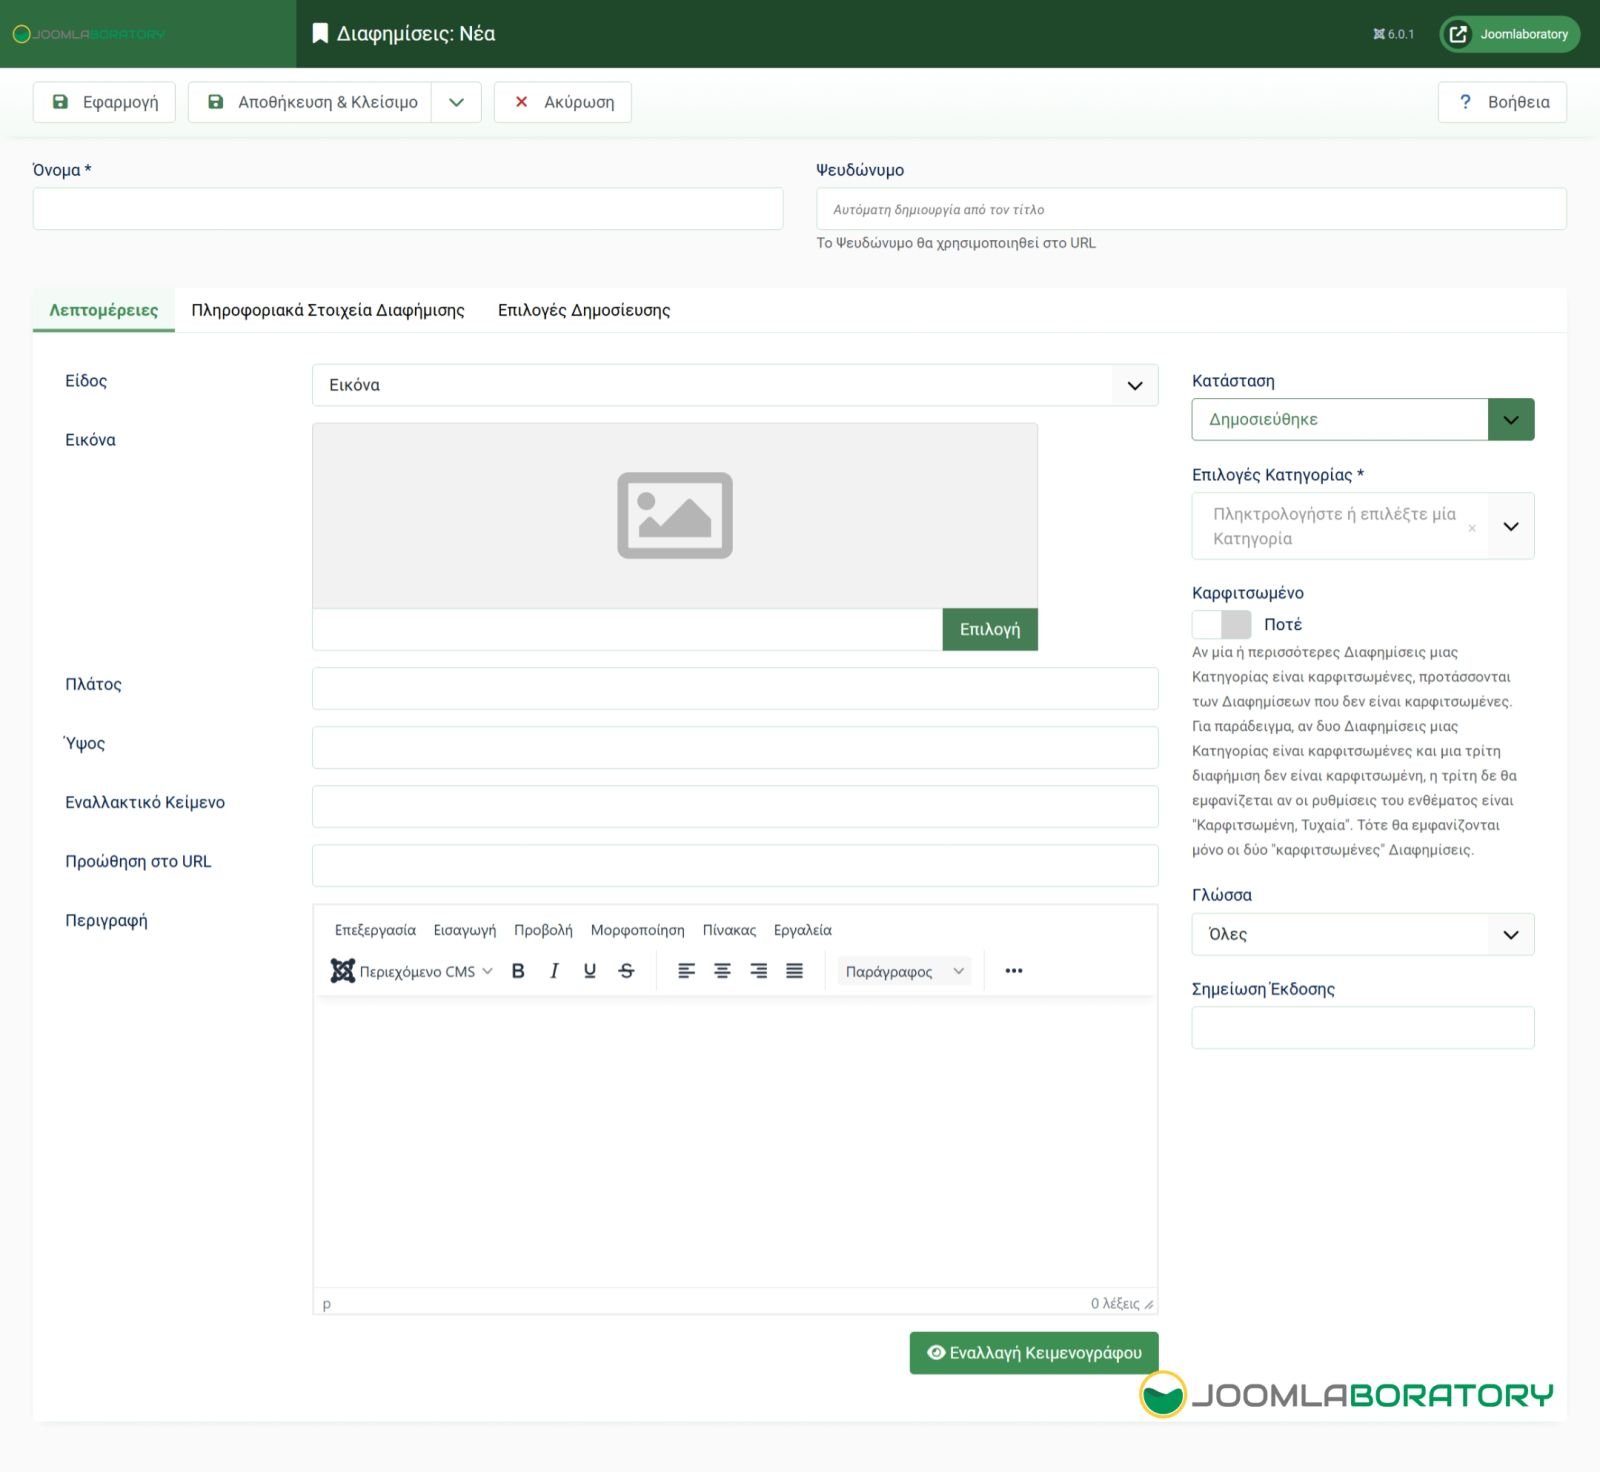
Except the obvious name field you can type a description title.
The form consists of three tabs. Details, Banner Details and Publishing which we will describe next.
Details Tab
Type
First of all, you must select the banner type. The types are two. Image or Custom.
If you choose image, on the next row there will be a insert image field so you can select or upload an image (png, jpg, gif etc).
if you choose custom, in the next row below you will see a text area field so you can type or copy paste the desired advertising code, for example Google AdSense, or just an html section of what you want to show.
Width and Height
If the image is larger from your available space you can force the width and height of it as it may suits you. But of course, if you are not careful, this freedom can cause aspect-ratio breaking!
Alt Text
You can type an image description
Click URL
Whatever you select you will also see that there is a Click URL field that you can type a valid URL so when your visitor clicks the Banner to trigger the action.
Description
Detailed description of you Banner
Banner Details Tab
From this tab you can type some information about the specific banner that we will analyze.
Max Impressions
You can set the maximum number of impressions (views) that the specific banner will get on your page. Every page load it is considered 1 impression. If you wish, you can leave the field empty or check the Unlimited checkbox so the banners get shown permanently.
Total Impressions and Total Clicks
Those two fields are populated by the system. The Total impression counts the banner views and the total click field counts how many times the banner got clicked.
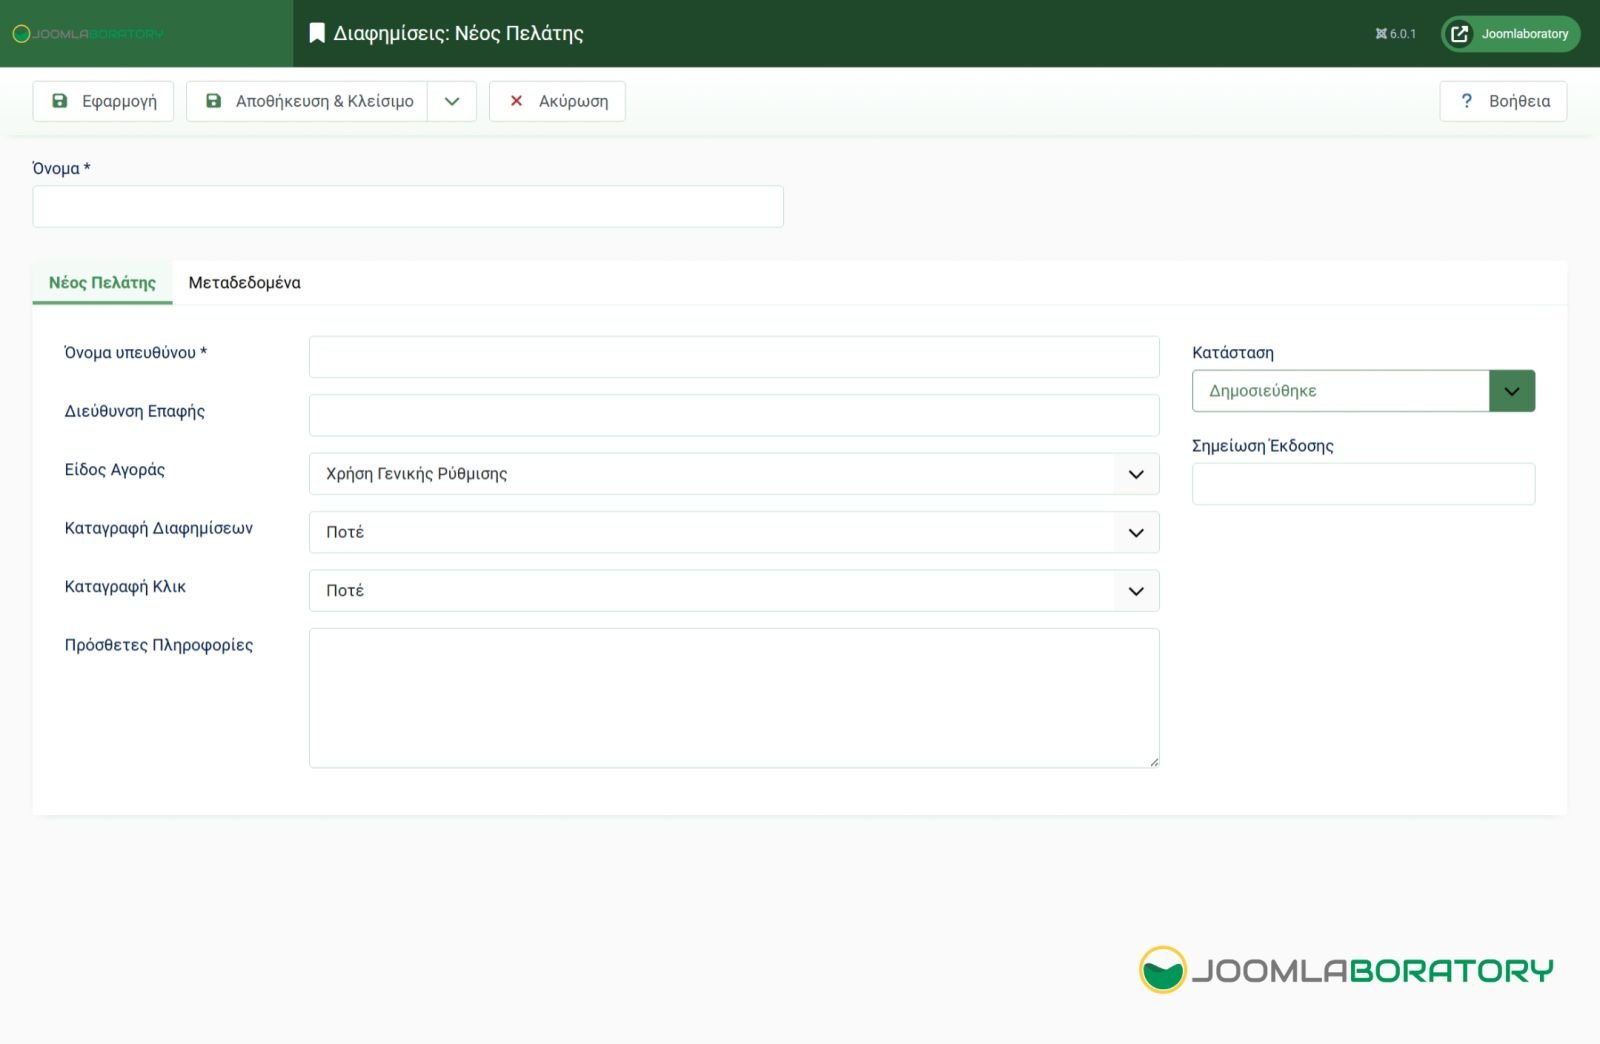
Client
From this field you can select the desired client.
Purchase type
This field is used in conjunction with the client. Practically you check what is your deal with the client so you can later filter the clients by this.
Track Impressions and Track Clicks
Setting the tracking methods of the banner.
Publishing
Publishing tab, as the article publishing tab, has the options to control the viewing dates of the specific banner. From here you can select when the banner will get published and when it will retire.
Also you may set some keywords that you can later use on your banner modules, filtering banners per article keywords.
So here we are, having all of our ads organized and the last step is to show them to the public.
Module Publish to show Banners
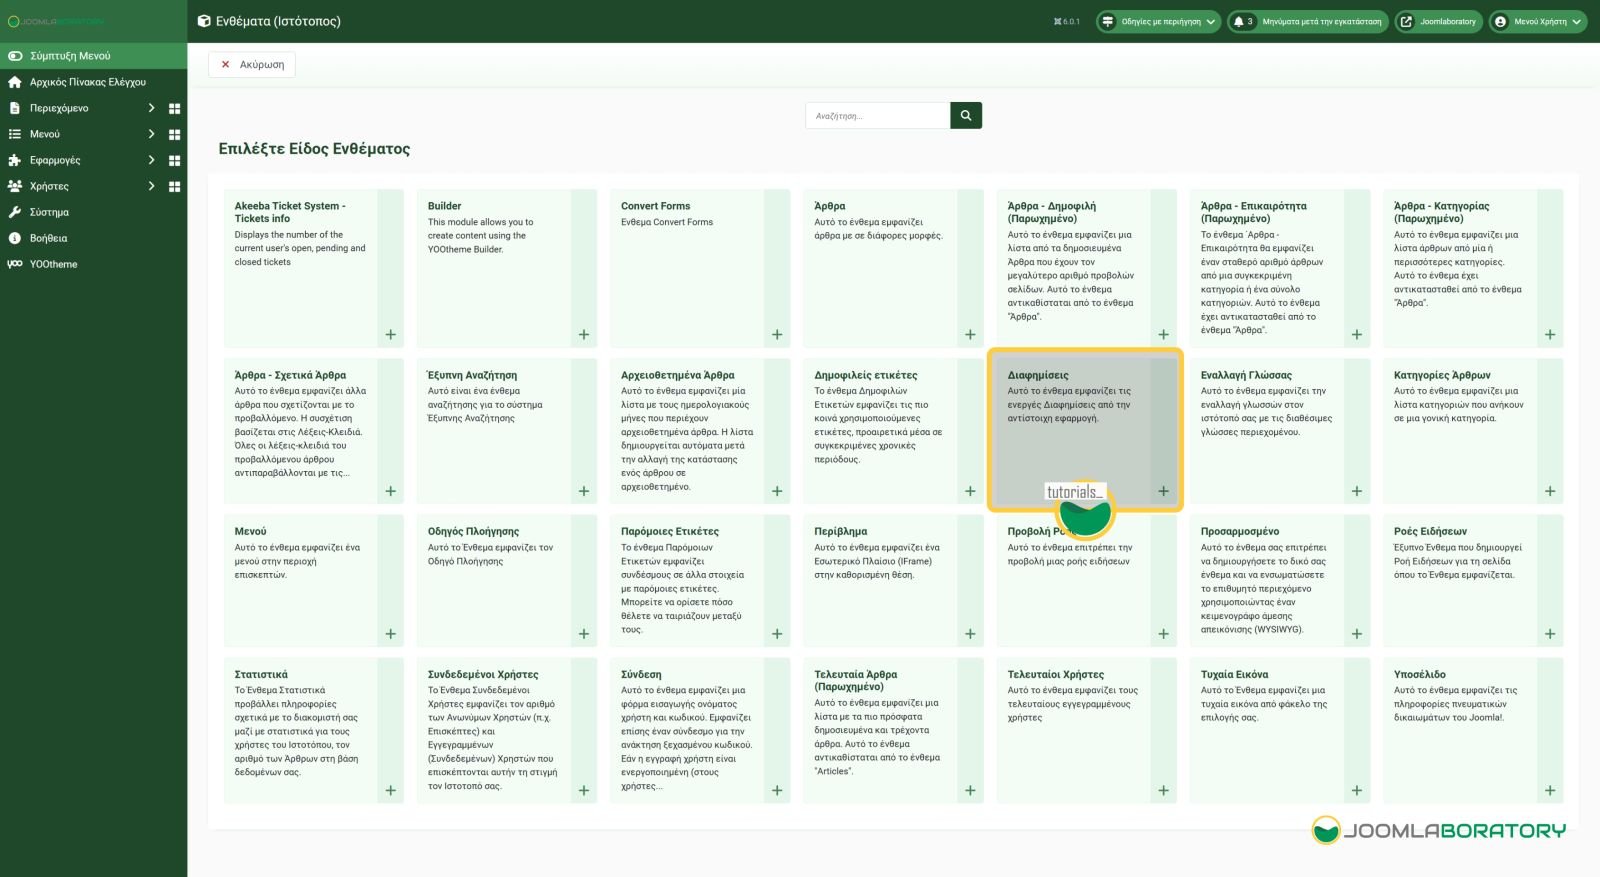
Having organized all your banners, the final step is to display them to the public. To do this, you can navigate to Modules and select New.
In the module options, as shown in the image below, you will select Banners.
Create Module
In this module, you can now choose from a wide range of options for the banners you want to display at specific points on your website.
Target
In the first tab, you can define how the banners will be displayed through the target option. This gives you the choice of whether the banners when clicked will open in a new window, the same window, or in a pop-up window, etc.
Count
In the Count option, you select the number of banners that will appear on the page.
Client
Next, in the Client option, you either leave the field blank so that all banners from the banner list are filtered, or you select a specific client. If a specific client is selected, only the banners related to that client will be shown.
Category
In the Category option, you choose one or more categories from those you have created so that the list of banners get filtered.
Keyword-Based Selection
Then, there is the option to display banners based on keywords. According to the keywords you have set for each banner, if there is a match with at least one keyword from the currently displayed article, those banners will be shown. In this way, you have a targeted method of displaying banners based on the article’s subject matter.
Random
In the Random option, you choose another way of sorting the display of banners, either by the order of sorting or randomly. Of course, in both cases, pinned banners remain at the top of the list.
Header Text
In the Header Text, you set some introductory text or indication before the banners are displayed.
Footer Text
In the Footer Text, you set some text or indication that appears after the banners have finished displaying.
Photo Gallery